DIY Apple Cider Vinegar
Saving money while grocery shopping can be a grand adventure. Some people really take “make-it-yourself” options to heart and undertake DIY projects as diverse as canning their own pasta sauce to making their own shampoo and conditioner. But not everyone has the drive (or time!) to make everything from scratch. What you can manage comes down to each individual’s DIY drive, schedule, and tastes. However, if you are looking for a fairly easy, hands-off DIY project that may save you a few bucks, consider making your own apple cider vinegar!
Apple cider vinegar is a handy ingredient to have in your pantry. Not only does it add flavor to dishes and dressings, but it can used as a wellness product and cleaning agent. Apple cider vinegar has well-documented anti-glycemic effects, which can help control blood sugar levels by blocking the digestion of some (not all) starches. Apple cider vinegar (at least the undiluted kind) also is full of helpful probiotics, which can help digestion and improve the immune system. If you are going to drink apple cider vinegar, be sure to dilute it well in water (1-2 Tbsp in a full glass of water), as the acid can harm your teeth enamel and irritate your throat. Taking apple cider vinegar for wellness isn’t for everyone and may interact negatively with some prescription medications. As always, check in with your healthcare provider if you have questions.
In terms of cleaning, apple cider vinegar has antifungal and antibacterial properties and the acid is effective at cutting through grease and mineral build-up. Use it to clean surfaces in your kitchen and bathroom, sinks, and the tub. You can even use it to fight odors in your house! To do so, just simmer apple cider vinegar in a small saucepan for an hour or so. For strong smells, leave a small bowl of straight apple cider vinegar in the room.
But enough about what apple cider vinegar is good for. How do you make your own? First, you’ll want to gather enough apple scraps to fill a sterilized quart jar about ¾ of the way full. You’ll want to make sure your apples were grown without pesticides or chemicals, since you want to encourage fermentation. You can gather these apple scraps over the course of a few days (store in the freezer) from your snacking apples (be sure to cut off any areas that were bitten), apple peels, apple cores, or apples from our Reduced Price Produce bin (many of the items in this bin are still perfectly good to use; they may just be bruised, nicked, etc). If you are using whole apples, cut them into slices first to increase surface area.
Dissolve some sugar in water (1 Tbsp sugar per 1 cup water). Add enough of the sugar water to the jar to fill and cover the apples, leaving a headspace of at least an inch. Place cheesecloth or a paper coffee filter over the top of the jar and secure with a rubber band or canning jar ring. Place the jar in a dark, warm place for about 2 weeks. After a few days, it should start to thicken, foam, and bubble.
After 2 weeks, strain out the apple scraps and pour the liquid into a clean jar. Cover again with the cheesecloth or coffee filter and store again in dark, warm place for another 2-4 weeks. You may notice a film develop on the top of the liquid and the liquid may appear cloudy. This is the “mother” (just like a SCOBY in kombucha brewing), and it can be used to jumpstart future apple cider vinegar batches.
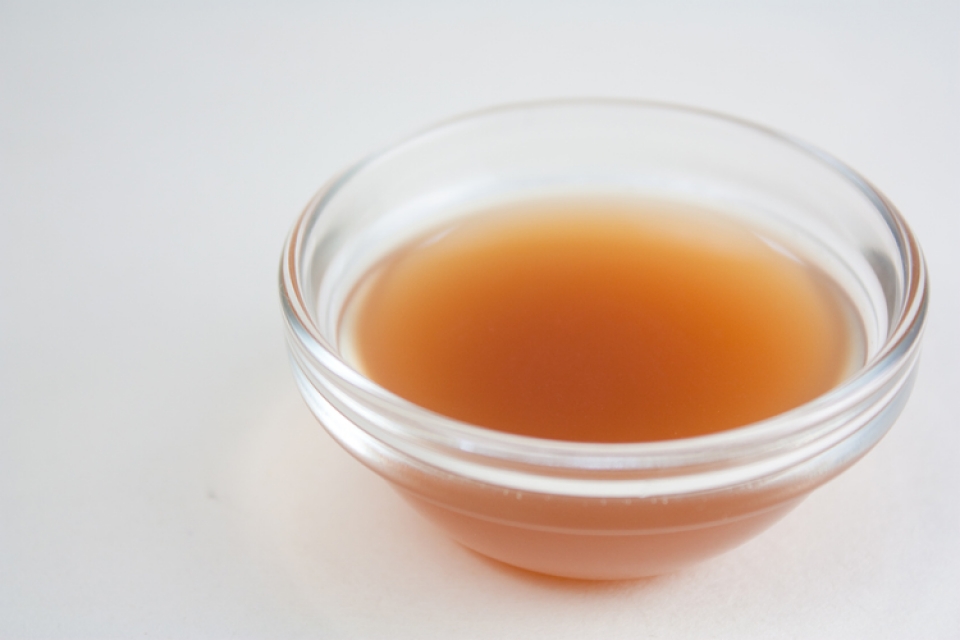
Fermentation should have run its course 6 weeks from the start of the process. There should be some residue at the bottom of the jar and the vinegar should taste tangy. If the smell or taste doesn’t seem tangy enough, let the liquid sit a bit longer. If you are satisfied with the taste of the vinegar, screw a lid on the jar and store the bottle in your pantry or refrigerator. And there you have it: delicious homemade apple cider vinegar!
*It is recommended that you do not use homemade apple cider vinegar for canning or preserving. Vinegars used for preserving need to have at least 5% acetic acid. Since most of us don’t have the tools needed to check the acid level of our homemade vinegar, it’s best to err on the side of caution.
Note: These articles are not meant as a substitute for proper medical advice. Please consult with your medical practitioner before using any type of remedy, herbal or otherwise.